Houston Garbage Disposal Installation: What You Need to Know
A good garbage disposal disappears into the routine of a kitchen. You flip a switch, it hums, and the sink clears. When it fails, you notice quickly. In Houston, where older bungalows share streets with new builds and sprawling townhomes, the mix of plumbing ages and materials makes disposal choices and installation details matter more than you might expect. I install and service units across the metro, from Meyerland to Spring, and patterns repeat: undersized units struggling with family use, leaks hidden behind sloppy putty, traps assembled backward, and a fair bit of misunderstanding about what a disposal can handle.
This guide walks through the practical decisions and pitfalls. If you want to save time and avoid headaches, it helps to see what actually causes most problems, how the Houston climate and water affect disposal life, and when it pays to call a pro for garbage disposal repair versus investing in a new unit.
The Houston context that shapes your choice
Houston pushes a disposal in subtle ways. Hard water around 7 to 9 grains per gallon is common, which isn’t extreme but encourages scale inside housings and at seals over several years. Frequent summer heat puts attic AC drains and kitchen usage on different rhythms. Power reliability varies by neighborhood, and brownouts can be tough on motors. Many older homes still have cast iron or galvanized drain lines that roughen inside, snagging fibrous waste. Newer homes often use PVC and deep single-bowl sinks that change the geometry under the counter.
Local codes follow the International Residential Code with municipal tweaks. In most single-family homes, a standard cord-and-plug connection to a GFCI-protected outlet is acceptable. Condos may have HOA restrictions. In-trap air gaps for dishwashers are common in older suburbs, while many newer kitchens use a high loop. If you’re planning garbage disposal installation Houston homeowners should also verify whether the existing circuit has the capacity: a 1 horsepower unit can draw around 8 to 12 amps on startup, though running draw is closer to 4 to 6 amps.
What size and type actually work
Manufacturers sell disposals by horsepower and by grind technology. The number on the box is not everything, but it is a useful shorthand.
For most Houston kitchens that cook nightly for a family, 3/4 horsepower strikes a balance between power and size. A good 3/4 unit usually includes sound insulation, stainless steel grind components, and enough torque to resize surprises, like watermelon rind slivers that snuck into the drain. A 1/2 horsepower unit suits a smaller household or a secondary sink in a bar or garage. I rarely recommend 1 horsepower unless the kitchen sees heavy use or you prefer the quietest options; bigger units can crowd under-sink storage and sometimes require an outlet relocation or a shorter trap arm.
Batch-feed versus continuous-feed matters less than it once did. Continuous-feed, controlled by a wall switch or air switch, remains the standard and is faster for daily cleanup. Batch-feed units with a magnetic stopper offer built-in safety and neatness in rental properties or homes with young kids. They cost more and take an extra beat to use, but they cut down on spoon and ring casualties.
Build quality shows in the grind chamber and mounting system. Stainless steel internals resist corrosion from Houston’s water and from occasional acidic foods. A full stainless chamber is nice but not essential; what counts is the shredder ring and impellers. A solid anti-vibration mount and a cushioned tailpipe collar reduce racket that travels through the sink and cabinet.
Noise ratings are an easy marketing hook. The quietest units combine more insulation, rubber isolation at the mount, and a heavier motor that hums at lower pitch. If your kitchen opens to a living room where someone is watching the game, choose a mid to upper tier and you’ll hear the difference.
Installation planning, not just wrench turning
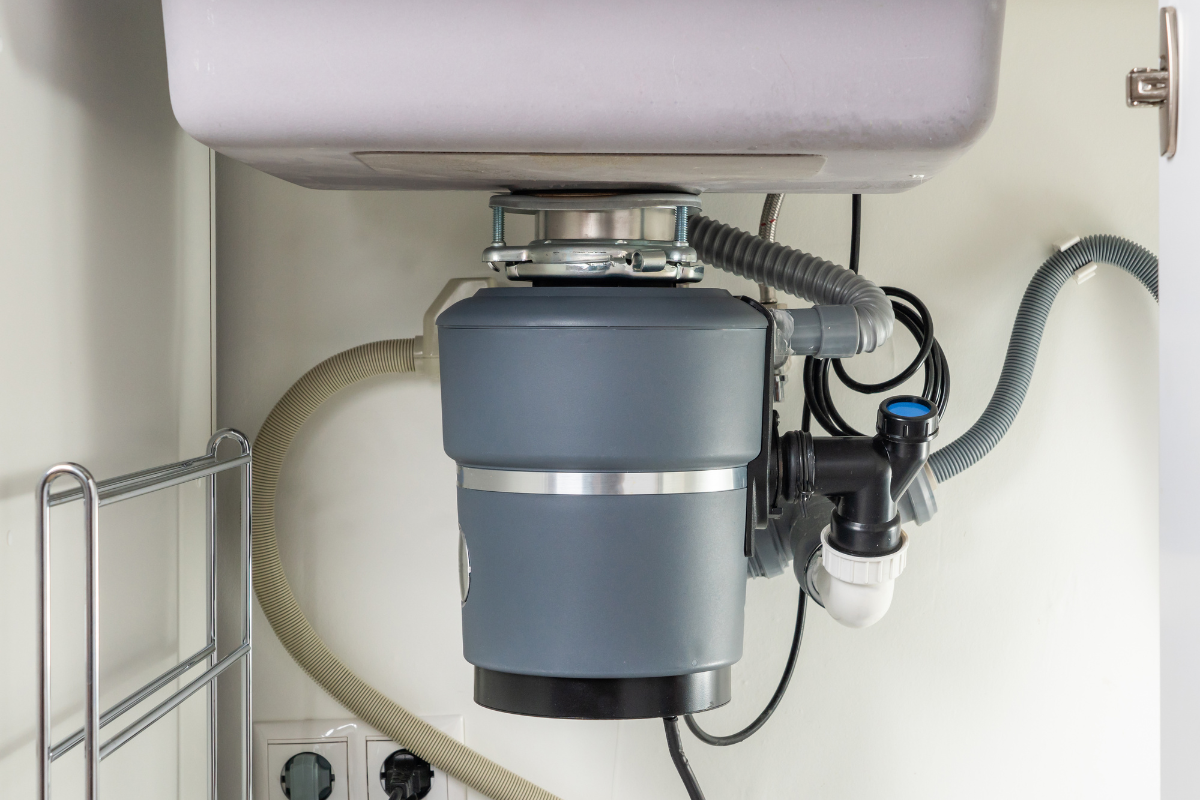
Under the sink, the space is a small puzzle. The disposal must align with the drain, leave a workable trap configuration, and keep the dishwasher connection at the right height. Deep farmhouse sinks change the vertical drop, which can push the disposal outlet below the wall stub. If that happens, water will sit in the disposal body, inviting odor and corrosion. You either raise the wall stub, switch to a shallow bowl, or choose a lower-profile model.
Electrical access is another decision point. Many homes have a switched outlet in the cabinet already. If yours does not, running a new circuit or adding a switch requires electrical work and potentially a permit. Air switches solve the problem without wall wiring by using a countertop button connected to a small pneumatic line that triggers a control box at the disposal. They’re tidy and reliable if installed cleanly.
If your sink is composite or thinner stainless, the mounting flange needs careful prep. Some composite sinks flex enough that an overtightened ring will warp the flange or stress-crack the sink lip. For porcelain-coated cast iron, the weight of a larger disposal plus water in the sink can pull on the flange if the putty bed is skimpy. I’ve revisited more than a few brand-new kitchens where the flange wept just enough to swell the cabinet toe-kick.
The installation, step by step, with Houston quirks in mind
The skill in a clean install isn’t a mystery. It’s a sequence with attention to details that prevent leaks, rattles, and clogs later.
- Confirm the sink and flange height. Dry-fit the disposal, P-trap, and wall stub. If the disposal outlet sits lower than the wall stub by more than a gentle slope, don’t force it; adjust the plumbing or model choice.
- Prep the sink opening. Remove the old strainer, clean the rim to bare metal or composite, and lay a firm bead of plumber’s putty under the new flange. On thin sinks, use the manufacturer’s gasket instead of putty if specified.
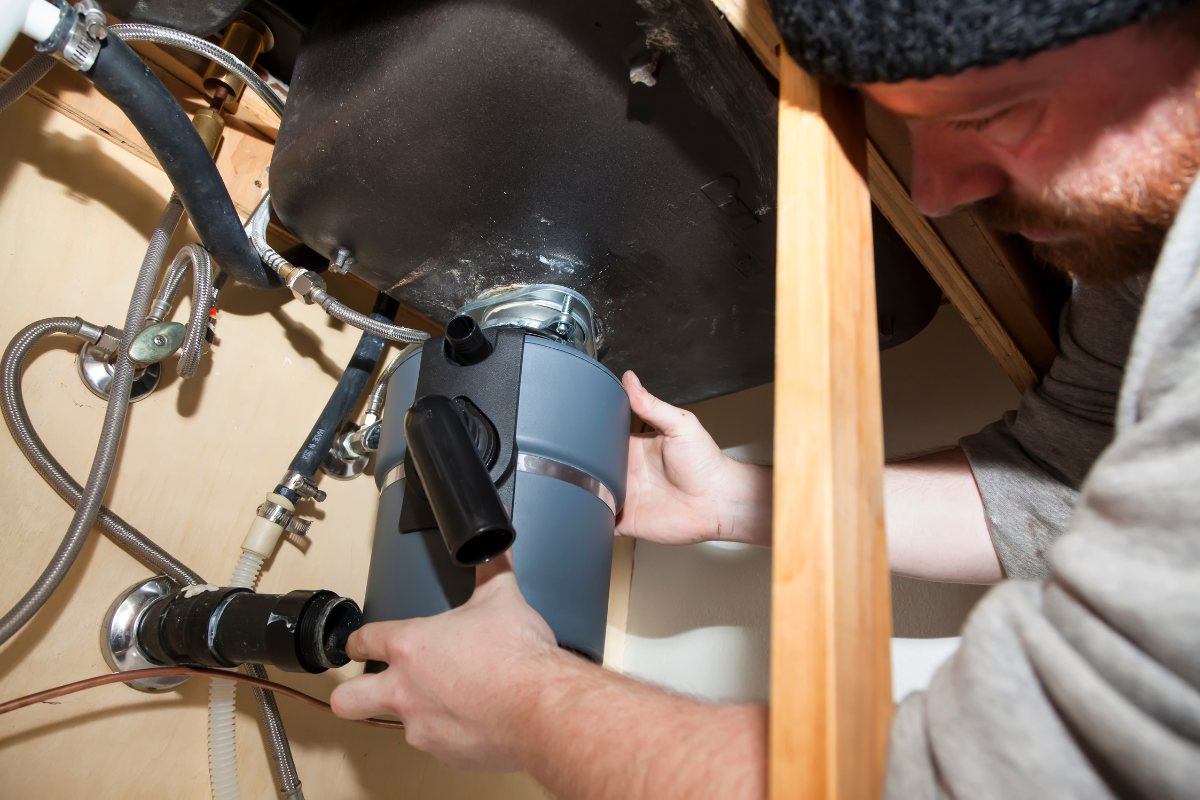
- Mount the disposal body. Tighten evenly, supporting the weight from below while locking the ring. Wrench until snug and uniform, not gorilla tight. Wipe squeezed putty.
- Connect the discharge and dishwasher line. Use the supplied rubber gasket at the discharge elbow. Knock out the dishwasher plug in the inlet before attaching the hose. Maintain a high loop to prevent backflow.
- Wire or plug in. If hardwiring, route through the strain relief, connect ground first, then neutral and hot, and secure the cover. For cord-and-plug, ensure a GFCI-protected receptacle. Test the switch, then check for leaks under flow.
That is a short checklist. In practice, two spots cause nine out of ten callbacks. First, the flange seal: insufficient putty or uneven torque leaves a slow leak that shows up allen wrench disposal fix as gray rings on the cabinet floor within a week. Second, the trap geometry: too many fittings or a trap arm pitched uphill leads to standing water and smell.
Dishwashers, air gaps, and the Houston remodel mix
Dishwasher hookup habits vary by era. In many remodels, I still find air gaps mounted on the sink deck feeding into a Y-branch on the disposal. Newer builds often omit the air gap in favor of a high loop, which many local inspectors accept. An air gap is a physical break that prevents sink water from siphoning into the dishwasher. It’s a belt-and-suspenders device. If your sink rim is crowded with faucets and filters, a high loop secured high under the countertop usually passes in Houston single-family homes. If you live in a jurisdiction or HOA that still requires an air gap, follow that rule.
When a dishwasher discharges into the disposal, it does more than drain. It rinses the grind chamber, which helps prevent film and odor. If you never run a dishwasher and rarely use the disposal with plenty of water, residue will build faster.
What you can put down the disposal, realistically
I get asked this almost every day. The truth sits between the extremes. A disposal reduces food scraps into small particles. It is not a mulcher for everything from dinner. Nor is it a fragile contraption that can’t handle anything but soup.
Bones: small chicken bones or fish bones, in modest amounts, are fine in a modern 3/4 horsepower unit. They help scour the chamber. Beef bones are a hard no.
Fibrous stalks: celery strings, corn husks, artichoke leaves, leeks. These wrap impellers and stall motors. Cut them small and toss most in the trash or compost.
Starchy bulk: big portions of mashed potatoes, rice, or pasta can congeal in the trap and wall stub. If you must run them, do it slowly with strong cold water for a long rinse.
Coffee grounds: a pinch is fine and can deodorize, but a cup packs like sand. Houston drain lines with scale inside hold on to that silt.
Grease: the biggest culprit. Bacon fat down the disposal becomes a gray plug ten feet down in a cool pipe. Wipe pans with a paper towel and trash it.
If you want the disposal to smell clean, feed it ice cubes and a lemon wedge occasionally. The ice chips knock film off the grind ring, and the lemon oils cover any metallic odor. Warm water softens fats, so use cold water during grinding and a long warm rinse after.
Repair or replace: making a smart call
Affordable garbage disposal repair can make sense if the unit is mid-tier or higher, less than five years old, and the problem is specific. Common repairable issues include jammed impellers, a tripped internal breaker, a leaking discharge elbow, or a failed wall switch. When the motor hums but doesn’t turn, a hex wrench in the bottom port can free a jam more times than not. If water drips from the very bottom of the motor housing, the internal seal has failed. That leak usually means replacement because it will worsen and can short the windings.
If your disposal is older than seven to ten years and shows rust at the seams, or if it’s a builder-grade 1/3 or 1/2 horsepower unit that groans at normal loads, replacement is often the better use of money. Newer models run quieter, last longer, and have improved anti-vibration mounts. A strong 3/4 horsepower unit may save you a service call later.
Kitchen disposal repair Houston homeowners request most often involves either a jam from fibrous food or a small leak at the sink flange. Jams are quick fixes. Flange leaks ask for a proper re-seat of the mount with new putty or gasket. If your disposal vibrates violently and the sink rings like a bell, it could be a torn anti-vibration gasket or an unbalanced chamber. That is repairable in select models, but sometimes the parts cost approaches that of a new unit.
Costs you can expect, with local texture
Numbers vary by brand and by the specifics of your kitchen, but after hundreds of installs, here is a grounded range for Houston:
- A solid 3/4 horsepower disposal costs 180 to 350 dollars at retail. Premium quiet models run 350 to 550.
- Professional installation typically ranges from 150 to 300 dollars for a straightforward swap. Factor more if the trap must be reworked, an outlet added, or a flange repaired. Complex retrofits can run 350 to 600.
- Kitchen disposal repair Houston service calls often start around 85 to 125 dollars for diagnosis, with simple fixes included and parts extra. Re-seating a flange may land in the 120 to 220 range with materials.
If a contractor quotes far less, ask what brand and model they plan to install and whether it includes stainless internals and a proper warranty. If a quote is far higher, it might involve electrical work or cabinet modifications. Clear scope beats a low number that hides add-ons.
Frequent installation mistakes I still see
The same errors repeat, and they are avoidable with a bit of care.
Even torque at the sink flange. If one side is tighter, the putty compresses unevenly and creates a capillary path. Water finds it. Tighten, go make coffee, come back, and snug again. Let the putty settle.
Trap geometry. A trap arm must slope gently to the wall stub. A flat or uphill run collects ground food. Adding extra 90-degree elbows to force alignment invites clogs.
Dishwasher plug. Many new disposals ship with a knockout still in place at the dishwasher inlet. Forget to remove it and the dishwasher backs up into the sink on the first cycle.
Unsupported weight. Heavy units need a hand while you lock the ring. Letting a disposal dangle during tightening twists the gasket and can gouge soft sink materials.
Electrical shortcuts. Twisting wires without a proper clamp, skipping a ground, or sharing a non-dedicated circuit already feeding a microwave leads to nuisance trips or worse. Use a cord kit or follow the hardwire instructions precisely.
When a pro is worth it
If the wall stub is corroded cast iron, if you have a double sink with a tricky baffle tee, or if you see signs of prior leaks and mold, bring in a technician. Some homes have an asymmetrical setup with a deep single-bowl sink and a right-hand discharge that doesn’t line up with the stub. That can require rebuilding the under-sink arrangement. Also, if you need a new switch or a GFCI outlet added, that crosses into electrical work best handled by a licensed pro.
Many homeowners call for Garbage disposal repair when the unit simply needs a reset. That is never a bad call if you are unsure. But if you feel handy and comfortable under the sink, most basic troubleshooting is safe with the unit unplugged.
Troubleshooting without drama
You can solve the top problems with a flashlight, a towel, and a sense of where the limits are.
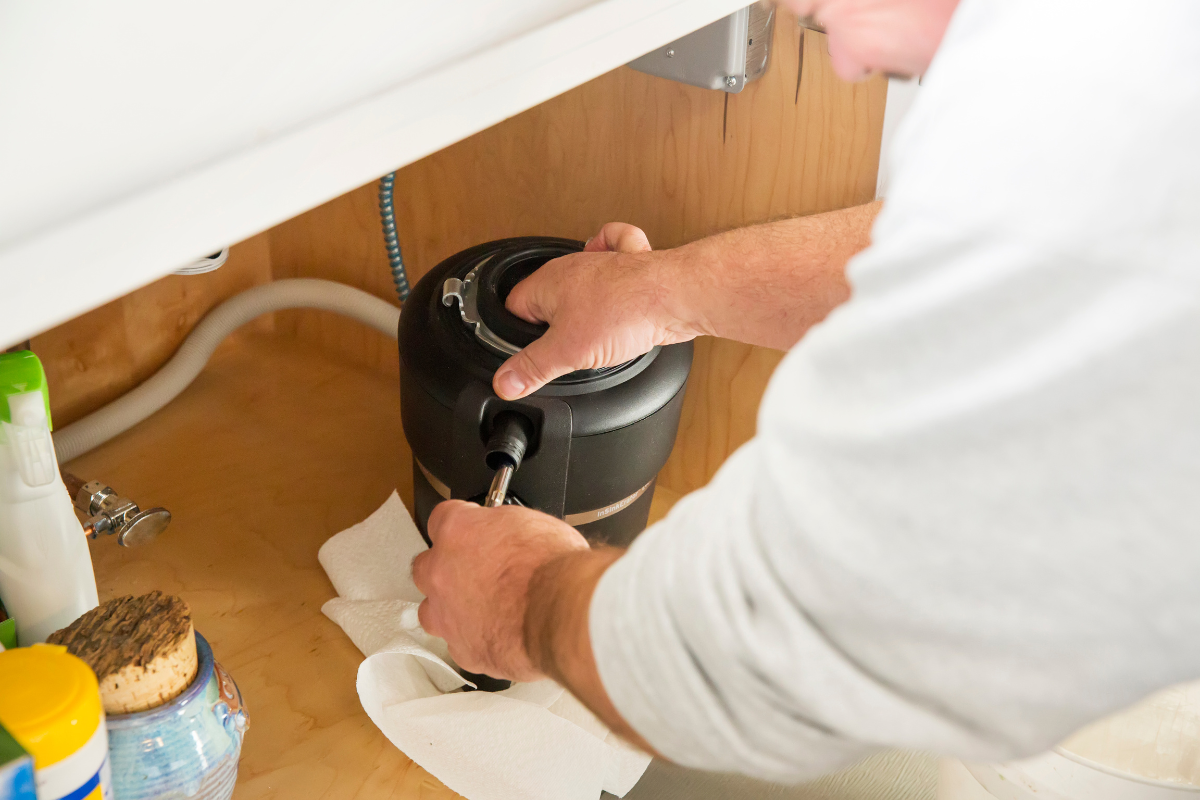
If the disposal hums and stalls, cut power, insert a 1/4-inch hex wrench in the bottom center port, and crank it both directions. Remove any foreign object with needle-nose pliers. Reset the red button on the bottom, run cold water, and try again.
If garbage disposal service near me the switch does nothing, check the GFCI upstream. In a surprising number of Houston kitchens, the disposal and dishwasher share a GFCI at the backsplash or in the garage subpanel. Press reset, then test the switch. If the unit still shows no life, check the cord connection or breaker. Continuous tripping signals a failing motor or a wiring fault.
If there is a leak, dry everything. Run water with the disposal off. A leak at the sink flange will show along the outside of the mounting ring. A drip at the discharge elbow points to a bad gasket or loose screws. A leak at the dishwasher inlet hose suggests a loose clamp or a cracked barb. Water from the bottom center of the disposal body indicates a failed shaft seal, which calls for replacement.
Odor control starts with usage. Run water for a few seconds before turning on the unit, feed food slowly with plenty of flow, then keep water running 20 to 30 seconds after the grind finishes. Every few weeks, grind a tray of ice and a lemon wedge. If smell persists, remove the splash guard at the sink throat and scrub underside slime. That rubber flap traps the worst of it.
The case for preventative habits
A disposal’s life spans roughly 7 to 12 years in Houston, shorter if abuse is common and longer if habits are good. What extends life is simple: avoid grease, cut big scraps smaller, keep fibrous items out, and use water generously. Hard water scale can stiffen the splash guard and narrowing at fittings, so occasional vinegar rinses help. Don’t pour a gallon of vinegar at once if your trap is metallic; moderation works.
During holiday seasons, service calls spike. Big meals, visiting relatives, and heavy dishwashing push small units beyond their comfort. If your disposal seems weak in October, replace or service it before Thanksgiving. It’s cheaper than an emergency visit with a backed kitchen sink and a house full of guests.
Brands and models without the hype
I avoid naming favorites in print because parts availability and model lines change, but a few traits consistently correlate with fewer callbacks. Look for a stainless steel grind ring and impellers, a cushioned mounting system compatible with your sink, a standard dishwasher inlet with a durable barb, and a tailpiece gasket that isn’t fussy to seat. Warranty terms cheap disposal fix matter less than real-world reliability, yet a 5 to 7 year in-home warranty usually signals confidence from the manufacturer.
If you are chasing the quietest performance, larger housings with more insulation win. If cabinet space is tight or the sink is very deep, a shorter, lower-profile model can solve a lot of layout pain at only a small noise trade.
What to ask an installer before work begins
Clear expectations prevent surprises. Ask how they will align the trap and whether any plumbing will be reworked. Confirm whether the dishwasher connection will use a high loop or an air gap, depending on your preference and local norms. Verify that the outlet is GFCI protected or that a cord kit is included if your old unit was hardwired. If you are seeking affordable garbage disposal repair first, ask for a diagnosis fee that applies to repair or replacement, so you don’t pay twice if the unit proves unfixable.
A note on disposal alternatives
Some households keep a small compost pail and use the disposal only as a safety net. That choice reduces what goes into the city sewer and lightens the load on older drain lines. If you enjoy gardening, composting makes sense for peels, coffee grounds, and egg shells, all of which are fine compost inputs and marginal disposal foods. Your disposal then handles sauces, soft leftovers, and plate scrapings. Balance keeps both systems happy.
Final checkpoints after installation
Before the installer leaves, or after you finish your own work, run through a quick verification routine. Fill the sink to the brim, then pull the stopper while the disposal runs. Watch every joint. You want a steady spin without rattling, no wobble at the sink rim, and a smooth drain with no backup into a second basin if it’s a double sink. Cycle the dishwasher for a minute to confirm the knock-out plug is gone and the line drains.
Take a picture of the under-sink layout once you are satisfied. If something changes later or a new appliance is added, that photo helps the next person understand the starting point. Keep the wrench that came with the unit taped to the cabinet wall. When a jam happens, you’ll be grateful for that small bit of foresight.
When you need help, choose well
Not all service calls are the same. A rushed swap can leave you with misaligned plumbing and a leak you discover after the installer is gone. Look for clear communication, a willingness to explain options, and respect for your time. If someone insists that only the largest model will work, ask why. If a tech offers to rework the trap neatly and seal a wobbly flange instead of forcing parts together, that’s often the right instinct.
Whether you are leaning toward Garbage disposal installation Houston homeowners rely on or focused on a specific Garbage disposal repair, the best outcome is a unit that disappears into your routine. It should start every time, clear your sink without drama, and stay quiet enough that you can talk across the room. With the right match, careful installation, and steady habits, it will do exactly that for years.
DYZ Plumbing, LLC
Address: 1220 Blalock Rd, Houston, TX 77055
Phone: (832) 877-9600